Species: bream, crappie
Remarks by Catch Cormier:
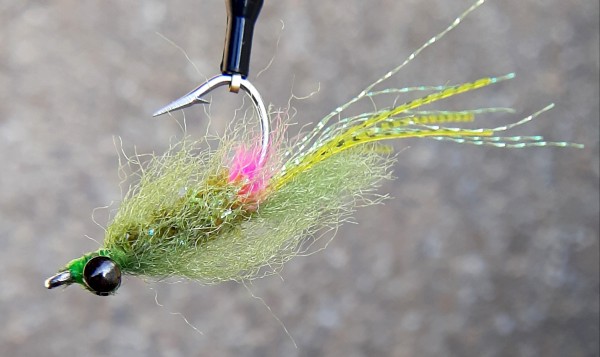
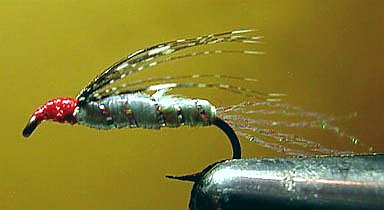
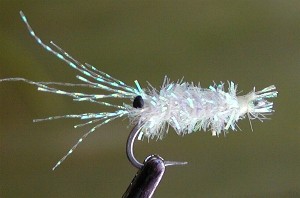
One fly that has produced for me consistently under tough conditions, when fish are reluctant to eat surface bugs or larger food items, has been the Black Boudreaux and it's spinoffs, the Purple Boudreaux and Blue Boudreaux.
This pattern was created by Ray Boudreaux of New Iberia, a longtime member of Acadiana Fly Rodders. As Ray tells it, he had just joined AFR and participated in a fishing outing at a local pond. One of the members was having great success catching bream on a small fly. Ray tried to recreate the fly and in the process, came up with something different. Fellow member Bob Boese was so impressed with the fly, he named it after Ray.
Bob's variation of this fly uses brown or black hackle for the tail, and tinsel instead of peacock for the body. I tie on Czech nymph hook in a slightly larger size, with the original body, but have adapted from Bob the use of hackle for the tail.
Materials:
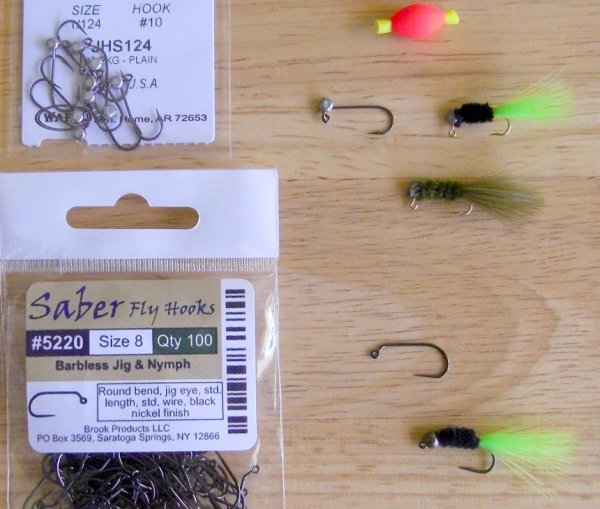
- hook: size 12 Czech nymph, Hanak H333BL or similar thread: size 6/0 black
- tail: hackle feathers from near base of feather
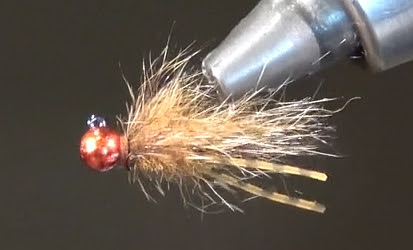
- body: peacock herl (black, purple, blue)
- hackle: dry fly hackle (black, purple, blue)
- eyes: small bead chain black
Instructions:
- Tie in the bead chain eyes one eye length behind the hook eye
- Pull off 8-10 barbs off the pennaceous section of a hackle feather and tie in as a tail.
- Tie in a size 10-14 hackle feather... size not too important as you'll trim the feather down.
- Tie in a strand of peacock herl. For strength and bulk, I tie it in a dubbing loop then twist the loop.
- Wrap the peacock herl forward and tie off just behind the bead eyes. Then palmer the feather forward and tie off just behind the bead eyes.
- Bring the thread ahead of the bead eyes and make the final wraps. Add UV epoxy or similiar to the final wraps.
Notes:
This fly can be fished "straight" but also under a tiny football-style strike indicator.
Video: